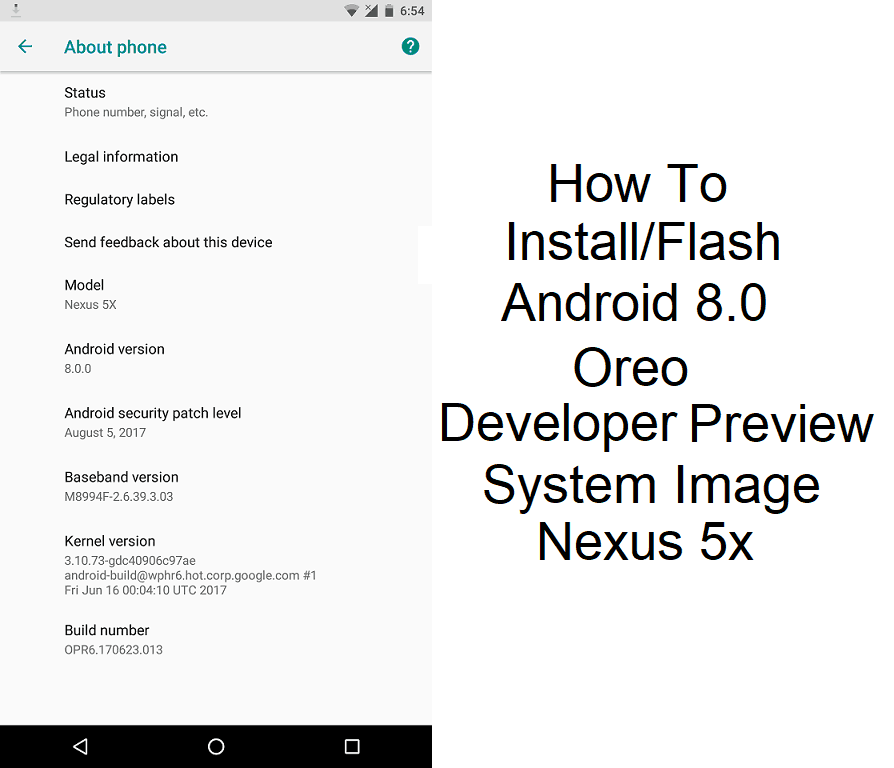
Android 8.0 is the latest update to Android from Nougat 7.0. You can taste the flavor of Android Oreo on your Nexus 5x by installing the Android Oreo Factory Image. Lots of features have been added to the latest update of Android Oreo. Below is Googles description of its latest Android Version 8.x.x Oreo.
“Smarter, faster, more powerful and sweeter than ever.” The world’s favorite cookie is your new favorite Android release.
Click this link to know more about Android Oreo. A step by step procedure is written below to install the Android Oreo Factory Images on the Nexus 5x. Your boot-loader must be unlocked as well. Learn how to unlock bootloader of nexus 5x.
How to Install Android 8.0 Oreo System Image on Nexus 5x
- Visit the Android Oreo Factory Images site via this link and Download the System Image zip file for the Nexus 5x.
- After downloading the Factory Image zip file, just extract the files to your fastboot folder. [Android SDK Platform Tools]
- Power off your phone and Boot into “FASTBOOT MODE” by pressing and holding the power and volume down button.
- Connect your Nexus 5x to your PC using the data cable.
- You can flash the system image at once by double clicking the “flash-all.bat” file. [This script installs the necessary bootloader, baseband firmware(s), and operating system.]

- You can lock the bootloader again by executing “fastboot oem lock” in the command prompt.
- After the script has finished flashing the bootloader, baseband and OS. The phone will automatically reboot into the new Android 8.0 Oreo OS.
Complete the starting system setup by entering your WiFi, Google details and fingerprint. There are loads of new User Interface Changes in the new version of Android Oreo. The picture-in-picture mode is really awesome. Also, Notification Dots and Android Instant Apps are cool new features that you might want to check out. Flash and Check out the new features on your own, That’s about it on how to install the Android Oreo Factory Image on the Nexus 5x.


